
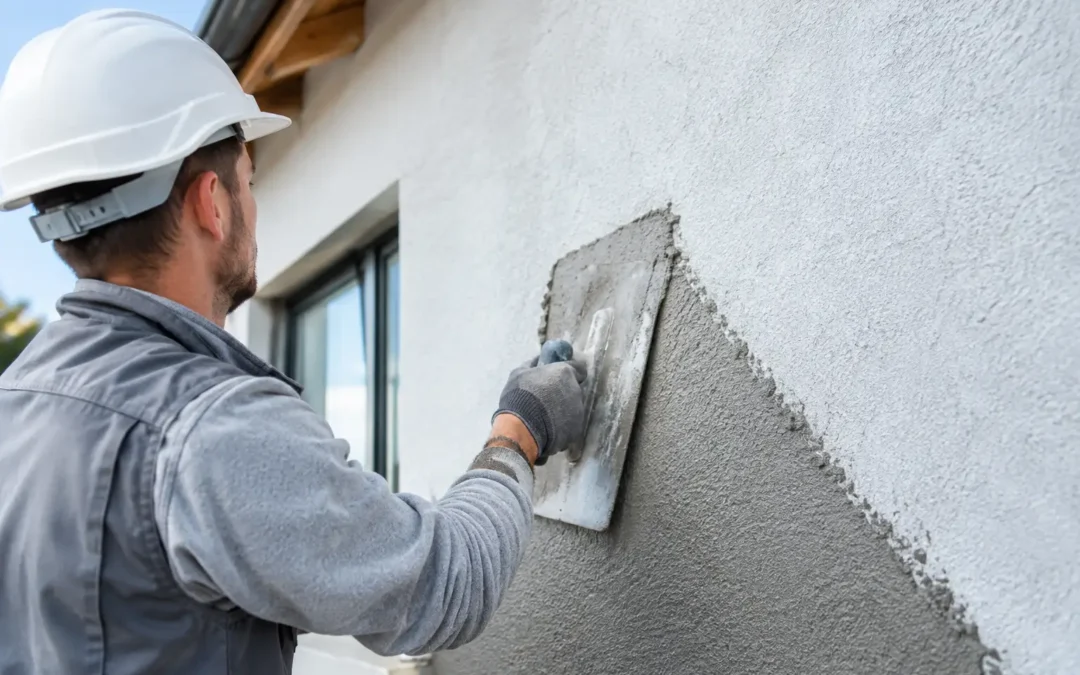
A thermal plaster system can improve envelope performance while preserving the character of a masonry facade, but only when the application cycle is treated as a system rather than a single coat of mortar. Knowing come applicare intonaco termico esterno means controlling the substrate, thickness, reinforcement, weather conditions, and curing with the same care used for any high-performance exterior finish.
For contractors and project managers, the objective is not simply to cover a wall. It is to create a continuous, stable layer that reduces heat loss, manages surface irregularities, and provides a reliable base for the specified finish. A good material cannot compensate for weak preparation, inconsistent thickness, or rushed curing.
Start by verifying whether thermal plaster is the right system
External thermal plaster is generally selected where a traditional plaster appearance is required, where the substrate has irregular geometry, or where a full external insulation system is not practical. It can be effective on new masonry and on rehabilitation work, particularly when the wall needs both leveling and an improvement in thermal behavior.
Its performance depends on the product formulation and the thickness that can actually be applied. This is the first trade-off to communicate clearly to the client or designer: thermal plaster is not automatically interchangeable with an exterior insulation and finish system. When the project requires a very low thermal transmittance value, a conventional insulation board system may achieve the target with less overall thickness. When compatibility with an existing wall, vapor behavior, facade geometry, or a mineral finish is the priority, thermal plaster can be the more appropriate technical response.
Before materials arrive on site, confirm the specified cycle, design thickness, final finish, and expected exposure conditions. If the building is in a coastal zone, highly exposed area, or location subject to driving rain, the finishing and protective layers require particular attention.
Assess and prepare the substrate
The substrate determines whether the plaster will adhere uniformly and remain stable over time. A wall may look sound from a distance yet contain dusting areas, loose mortar, residual paint, salts, or moisture that compromise the bond.
Remove friable material, oil, dust, efflorescence, biological growth, and any coating that does not provide a reliable mechanical key. Repair voids, deep joints, cracks caused by localized failure, and damaged masonry before beginning the thermal plaster cycle. Do not use the insulation plaster as a shortcut for structural repair or for filling uncontrolled cavities.
Check flatness with straightedges and verify that protrusions, concrete elements, old render patches, and different substrate materials have been considered. Where masonry meets reinforced concrete, or where other discontinuities are present, localized reinforcement and suitable preparation are often necessary to control differential movement.
Control moisture before application
A damp wall is not always a wall that should receive thermal plaster. Rising damp, leaking gutters, failed flashings, plumbing losses, or water infiltration must be diagnosed and resolved first. Applying a thermal layer over an active moisture problem can trap the defect behind a new facade and lead to staining, detachment, or loss of performance.
The same principle applies to highly absorbent masonry. If the substrate draws water too quickly from the fresh mix, workability and adhesion suffer. Depending on the condition of the background and the specified system, dampening or a compatible primer may be required. The goal is a sound, clean, cohesive, and evenly absorbent base.
How to apply exterior thermal plaster correctly
The exact water dosage, mixing time, application thickness, and waiting periods must always follow the technical data sheet for the selected product. Those parameters vary by formulation and cannot be replaced by jobsite habit. Still, the operational sequence remains consistent.
Mix consistently, by hand or machine
Use clean water and clean equipment. Add the dry mortar to water in the prescribed quantity, then mix until the material is homogeneous and free of lumps. Allow any required resting time, remix briefly, and do not add water later simply to restore workability. Excess water can increase shrinkage, weaken the hardened matrix, and make thickness control more difficult.
For larger areas, machine application offers an important advantage: it helps deliver a continuous, consistent mix and supports higher productivity. That advantage only exists if the pumping equipment is correctly set up, hoses are clean, and the crew checks the sprayed material throughout the day. Pump pressure, water regulation, nozzle condition, and mixing quality all affect the finished surface.
Apply in controlled passes
Apply the mortar evenly to the prepared background, building up to the specified thickness in one or more passes as the manufacturer allows. Do not assume that a thicker coat is better. Every thermal plaster has a maximum recommended thickness per pass; exceeding it can increase the risk of slump, cracking, slow drying, or poor cohesion.
Use guides, thickness gauges, and long straightedges to maintain a uniform plane. Corners, reveals, window perimeters, and transitions require deliberate workmanship because these are common points for thickness variations and cracking. Install corner beads, drip profiles, and other compatible accessories where the design requires them.
Once the material has reached the proper stage, straighten and level it without overworking the surface. Aggressive finishing can bring excess binder to the face or disturb the lightweight aggregate structure that contributes to the plaster’s insulating behavior.
Reinforce where movement is most likely
Reinforcement is not an optional detail added after cracks appear. Alkali-resistant fiberglass mesh, embedded in the compatible base or skim layer where specified, helps distribute stresses and improve resistance to localized movement. It is particularly relevant at junctions between different materials, around openings, at corners, and across areas with existing cracking risk.
Place diagonal reinforcement patches at window and door corners before the main mesh layer when the system calls for them. Keep the mesh properly embedded, with adequate overlap and cover, rather than leaving it visible at the surface. Mesh positioned too close to the exterior face can telegraph through the finish and does not provide the intended reinforcement.
Respect weather, drying, and curing conditions
Exterior mortar work is exposed to variables that cannot be ignored: direct sun, wind, low temperatures, high humidity, rain, and rapid temperature swings. A wall in summer sun can dry far faster than the ambient air suggests. Conversely, a cold, humid facade can retain moisture and delay the next operation.
Protect fresh plaster from rain, frost, strong wind, and intense solar exposure with appropriate site measures. Work within the temperature range stated by the manufacturer. Avoid application on frozen substrates, on surfaces overheated by sun, or when rain is imminent without effective protection.
Drying time is not just an item on the schedule. Thermal plaster must release construction moisture before receiving subsequent skim coats, primers, decorative coatings, or paint. Closing the cycle too early can cause discoloration, weak adhesion, blistering, or trapped moisture. The correct waiting time depends on coat thickness, ventilation, temperature, and humidity, so visual inspection and moisture assessment should accompany the technical schedule.
Complete the facade with a compatible finish
The final layers protect the thermal plaster and determine much of the facade’s appearance. Once the base has cured sufficiently, apply the specified smoothing coat, reinforcement layer if required, primer, and breathable exterior finish according to the selected system.
Compatibility matters. A highly restrictive coating over a mineral, vapor-permeable plaster can alter the wall’s moisture behavior. On the other hand, a finish with inadequate water resistance may leave the facade vulnerable in exposed conditions. The finish must balance water protection, vapor permeability, impact resistance, and the desired texture or color.
At this stage, check all interfaces: window sills, flashing, roof edges, pipes, exterior fixtures, expansion joints, and ground-level transitions. Water management details are part of the plaster system’s durability. Even an expertly applied mortar will be stressed if water is repeatedly directed behind or onto an unprotected edge.
Jobsite checks that prevent expensive corrections
A capable crew benefits from simple controls at each stage. Confirm substrate cohesion before starting; record water dosage and product batches; check thickness while the plaster is fresh; inspect reinforcement placement before covering it; and verify curing conditions before moving to the next layer.
For distributors and contractors, these checks also protect the specification. They reduce disputes caused by mixing different products, skipping primers, changing finish types mid-project, or applying outside the approved thickness range. Performance is guaranteed by the complete cycle, not by the bag alone.
Magix supports building professionals with technical materials and practical assistance on application cycles and equipment, because correct installation is what turns a formulated mortar into a durable facade solution.
A successful thermal plaster application remains visible years later in the right way: as a straight, protected, crack-controlled facade that helps the building perform better without demanding attention. That result begins before the first mix, with the discipline to prepare the wall and follow every layer of the system.